Determining adequate tightening torque for ISO-KF clamp connections, with size-based reference ranges and practical “enough” criteria.


A vacuum leak in a flange connection is not just an inconvenience—it directly compromises process integrity, extends cycle times, wastes energy, and can ruin an entire batch of product. The good news is that most flange seal problems can be diagnosed and fixed quickly if you know what to look for.
The core principle is simple: every vacuum flange seal fails for a reason. Whether you are working with KF quick-release connections, ISO bolted flanges, or CF metal-seal flanges, the leak source usually falls into one of five categories: damaged sealing surfaces, incorrect assembly, wrong or worn gasket material, contamination, or thermal/mechanical stress. This article walks through each cause, shows you how to pinpoint the problem, and gives you a practical checklist to get your system back to vacuum-tight condition—fast.
Before fixing a leak, it helps to understand what a flange seal is supposed to do. A vacuum flange creates a barrier between the inside of your vacuum system and the outside atmosphere. The seal itself is made by compressing a sealing element—either an elastomeric O-ring (for KF and ISO flanges) or a metal gasket (for CF flanges)—between two flange faces.
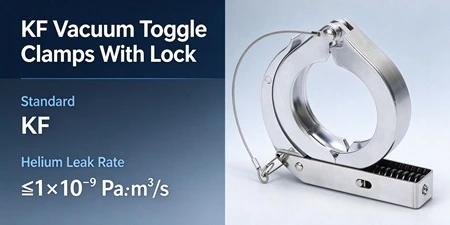
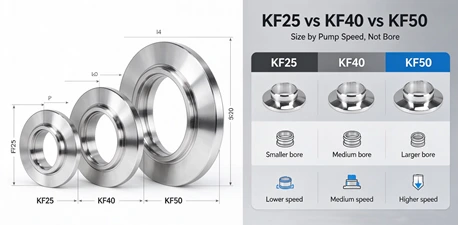
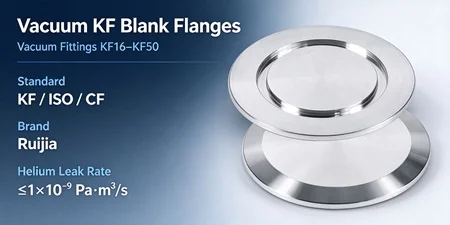
For KF (Klein Flansche) flanges, the seal relies on an elastomeric O-ring seated in a centering ring, compressed by an external clamp. KF systems are designed for quick assembly and disassembly without tools, making them popular in R&D, analytical instrumentation, and medium-vacuum applications.
ISO flanges use a similar elastomeric sealing principle but with larger diameters and bolted or clamped connections, suitable for medium to high vacuum applications.
CF (Conflat) flanges use a completely different approach: a metal-to-metal seal where a sharp knife-edge on the flange bites into a softer copper gasket under bolt torque. This creates an all-metal seal capable of ultra-high vacuum (UHV) and high-temperature bakeout.

Understanding which sealing mechanism your system uses is the first step in diagnosing a leak—because the failure modes are different for each type.
Most vacuum flange leaks trace back to one of five root causes. Here is what to check first.
The sealing surface is where the magic happens—and where problems start.
For KF and ISO flanges, the O-ring and the flange face must be clean, smooth, and free from scratches. Even a tiny particle of dust or a metal burr can create a leakage path. Scratches across the sealing area act as micro-channels for air to enter.
For CF flanges, the knife-edge is critical. If the knife-edge is nicked, scratched, or deformed, the copper gasket cannot deform properly to fill the sealing zone. Once a CF knife-edge is damaged, the flange may need remachining or replacement.
Contamination is equally problematic. Oil, grease, fingerprints, or process residues on the sealing surface prevent the gasket or O-ring from seating properly. In vacuum systems, even microscopic contamination can cause measurable leaks.
Assembly errors are perhaps the most common cause of flange leaks—and the easiest to prevent.
For KF flanges, over-tightening the clamp is a frequent mistake. Excessive force can crack the flange, deform the O-ring, or damage the centering ring. The clamp should be tightened only until the flange faces are drawn together and the O-ring is visibly compressed—not beyond that point.
For CF flanges, bolt torque must be precise and uniform. Under-torquing leaves insufficient compression on the copper gasket; over-torquing can damage the knife-edge or stretch the bolts. The correct torque depends on flange size and material, and bolts should be tightened in a star pattern to ensure even compression.
For ISO flanges, bolted connections require similar attention to torque sequence and uniformity. Uneven tightening causes the flange to tilt, creating a non-uniform gap that the O-ring cannot seal.
Using the wrong sealing material for your application is a guaranteed path to leaks.
O-rings for KF and ISO flanges come in different materials: Viton (FKM), Buna-N (NBR), silicone, and EPDM, among others. Each has different temperature limits, chemical compatibility, and outgassing characteristics. Using a Buna-N O-ring in a high-temperature application will cause it to harden and lose sealing ability. Using Viton in a solvent-rich environment may cause swelling.
CF gaskets are typically made of oxygen-free copper, which is soft and ductile enough to deform under the knife-edge. Silver-plated copper gaskets are available for applications requiring lower clamping force or repeated assembly cycles. Using the wrong gasket material—or reusing a gasket that has already been compressed—will almost certainly result in a leak.
Worn seals are equally problematic. O-rings age, harden, crack, or take a permanent set over time. Copper gaskets work-harden after compression and cannot be reliably reused.
Vacuum systems are rarely static. Temperature changes cause flanges and bolts to expand and contract at different rates. Mechanical vibration from pumps or external sources can loosen connections over time.
For CF flanges, thermal cycling is a particular concern. The flange and bolts may have different coefficients of thermal expansion. A joint that was properly torqued at room temperature may lose compression at elevated temperatures—or gain excessive stress that damages the knife-edge.
For KF and ISO flanges, elastomeric O-rings have limited temperature ranges. Exposing them to temperatures beyond their specification causes accelerated aging and loss of elasticity. Vibration can also cause KF clamps to loosen gradually.
When flanges are not properly aligned, the sealing element is compressed unevenly. One side of the O-ring or gasket may be over-compressed while the other side is under-compressed—creating a leak path.
Pipe stress from rigid piping that does not accommodate thermal expansion or equipment movement can pull flanges out of alignment or put excessive force on the joint. This is why vacuum systems often incorporate bellows or flexible connections to absorb movement and reduce stress on flange joints.
When you suspect a flange leak, follow this systematic approach rather than randomly tightening bolts or replacing parts.
Start with the obvious. Look at the flange joint carefully:
Is the KF clamp fully engaged and properly positioned?
Are all CF bolts present and evenly tightened?
Is there any visible damage to the flange faces?
Can you see foreign material or contamination?
Is the O-ring or gasket protruding unevenly?
For KF flanges, check that the centering ring is seated correctly and that the O-ring is not pinched or twisted.
The most reliable method for finding a vacuum leak is using a helium leak detector. Helium is small, inert, and non-reactive—it will find its way through even the smallest leakage path.
If a helium leak detector is not available, you can use these methods:
Pressure decay test: Pressurize the system (or section of it) and monitor pressure drop over time.
Spray test: With the system under vacuum, spray a small amount of solvent (like acetone or alcohol) near suspected leak points while watching the system pressure gauge. A sudden pressure rise indicates a leak at that location.
Soap bubble test: For systems at positive pressure, apply soap solution to joints and look for bubbles.
If you have multiple flange joints in a system, isolate sections using valves to narrow down the leak location. Close valves one by one and watch the pressure—when the leak stops, you have identified the section containing the leak.
Once you have identified the leaking joint, remove the sealing element and inspect it:
For O-rings: Look for cuts, nicks, hardening, compression set, or swelling.
For copper gaskets: Look for uneven compression, damage to the sealing surface, or signs that the gasket has been reused.
With the sealing element removed, inspect the flange faces:
For KF/ISO: Look for scratches, pitting, or corrosion on the sealing surface.
For CF: Inspect the knife-edge for nicks, burrs, or deformation. Even a small defect can prevent proper sealing.
| Symptom | Likely Cause | What to Check | Solution |
|---|---|---|---|
| Pressure won't stabilize | O-ring damaged or aged | Remove and inspect O-ring | Replace O-ring |
| Leak rate increases over time | O-ring taking compression set | Check O-ring for flat spots | Replace O-ring |
| Sudden leak after bakeout | Thermal expansion | Check torque at operating temperature | Re-torque when hot |
| Leak at one specific bolt position | Uneven torque or flange damage | Check torque sequence and flange face | Re-torque in star pattern; inspect face |
| Leak after reassembly | Contamination or damaged seal | Clean faces; inspect seal | Clean thoroughly; replace seal |
| CF flange leak | Damaged knife-edge or reused gasket | Inspect knife-edge; verify gasket is new | Replace gasket; remachine if needed |
| KF flange leak | Over-tightened clamp or damaged flange | Check clamp tightness; inspect flange | Replace damaged flange; use correct torque |
| Intermittent leak | Vibration or thermal cycling | Check all fasteners | Re-torque; add locking hardware |
Once you have diagnosed the problem, follow this procedure to fix it properly.
Disconnect the KF clamp and separate the flanges.
Remove the centering ring and O-ring.
Clean the flange faces with a lint-free cloth and a suitable solvent (acetone or isopropyl alcohol). Ensure no residue remains.
Inspect the O-ring. If it shows any sign of damage, hardening, or compression set, replace it. Do not reuse questionable O-rings.
Inspect the centering ring for damage or deformation. Replace if necessary.
Reassemble with a new or confirmed-good O-ring. Ensure the O-ring is seated properly in the centering ring.
Align the flanges and install the clamp. Tighten only until the flanges are drawn together—do not over-tighten.
Test with a leak detector or pressure decay test.
Remove the clamp or bolts and separate the flanges.
Remove the O-ring and centering ring (if applicable).
Clean both flange faces thoroughly.
Inspect the O-ring and replace if damaged, hardened, or compressed.
Reassemble with proper alignment.
Tighten bolts evenly in a star or cross pattern to the specified torque.
Test for leaks.
Remove all bolts and separate the flanges.
Remove the copper gasket. Never reuse a CF gasket—once compressed, it cannot reliably seal again.
Inspect the knife-edge carefully. If damaged, the flange may need to be remachined or replaced.
Clean the flange faces and knife-edge with a lint-free cloth and solvent.
Install a new copper gasket (or silver-plated copper gasket if specified).
Reassemble the flanges with the new gasket in position.
Tighten bolts evenly in a star pattern to the specified torque. Use a torque wrench—do not guess.
Test with a helium leak detector.
Use this checklist during routine maintenance or whenever you suspect a leak:
Not every flange leak requires replacement of the flange itself. Here is a quick decision guide:
| Condition | Action |
|---|---|
| O-ring damaged or aged | Replace O-ring only |
| Copper gasket compressed | Replace gasket only |
| Flange face scratched (KF/ISO) | May be repairable by lapping or machining |
| Knife-edge damaged (CF) | Usually requires flange replacement or remachining |
| Flange cracked (KF from over-tightening) | Replace flange |
| Corrosion pitting on sealing surface | Replace flange |
| Bolts stretched or damaged | Replace bolts |
The best way to fix a flange leak is to prevent it from happening in the first place. Follow these practices:
Use the correct sealing material for your temperature, pressure, and chemical environment. Consult material compatibility charts if unsure.
Follow torque specifications for every flange type. Use a calibrated torque wrench for CF and ISO bolted connections.
Keep sealing surfaces clean. Handle O-rings and gaskets with clean gloves. Clean flange faces before every assembly.
Inspect seals regularly. Replace O-rings on a preventive schedule based on your operating conditions—not just when they fail.
Avoid over-tightening KF clamps. The clamp should be snug, not forced.
Use anti-seize on CF bolts to ensure accurate torque readings and prevent galling.
Incorporate flexible connections (bellows) to reduce pipe stress on flange joints.
Keep spare seals of the correct materials on hand so you are never tempted to reuse a questionable seal.
How do I know if my vacuum flange is leaking?
The most reliable indicator is that your system cannot reach or maintain its target vacuum pressure. Other signs include increased pump runtime, process contamination, or product quality issues. For definitive confirmation, use a helium leak detector.
Can I reuse a CF copper gasket?
No. CF gaskets are single-use components. Once compressed by the knife-edge, the copper work-hardens and cannot deform properly to create a reliable seal on a second assembly. Always use a new gasket when reassembling a CF flange.
What is the most common cause of KF flange leaks?
Over-tightening the clamp and O-ring damage are the two most common causes. Over-tightening can crack the flange or deform the O-ring. Damaged or aged O-rings lose their ability to seal. Regular inspection and replacement of O-rings prevents most KF leaks.
How tight should a KF clamp be?
A KF clamp should be tightened only until the flange faces are drawn together and the O-ring is visibly compressed. The wing nut should be snug but not forced. If you are using tools beyond your fingers to tighten a KF clamp, you are probably over-tightening it.
Why does my flange leak only when hot?
Thermal expansion is the likely cause. Different materials expand at different rates. A joint that seals at room temperature may lose compression when hot (if the flange expands more than the bolts) or gain excessive stress (if bolts expand more). Check torque at operating temperature and use materials with matched thermal expansion coefficients where possible.
What is the difference between KF, ISO, and CF flange seals?
KF and ISO flanges use elastomeric O-ring seals and are suitable for low to high vacuum applications. KF is quick-release with clamps; ISO uses bolts or clamps for larger diameters. CF flanges use metal gaskets (copper) and metal knife-edge seals for ultra-high vacuum and high-temperature bakeout.
A vacuum flange leak is almost always fixable—and usually fixable quickly—if you approach it systematically. The key is to identify the root cause rather than guessing and swapping parts randomly.
Remember these three things:
Diagnose before you disassemble—use visual inspection, leak detection, and isolation to pinpoint the problem.
Replace sealing elements—O-rings and copper gaskets are consumables. Do not reuse them beyond their service life.
Follow proper assembly procedures—correct torque, clean surfaces, and proper alignment prevent most leaks.
If your system uses KF flanges and you need replacement components, review the available configurations and sizes to ensure you have the right parts on hand for maintenance.
For detailed product specifications, materials, and sizing options, explore the KF flanges and fittings category. For technical questions about your specific application, consult with a vacuum components specialist to confirm material compatibility and sealing requirements.
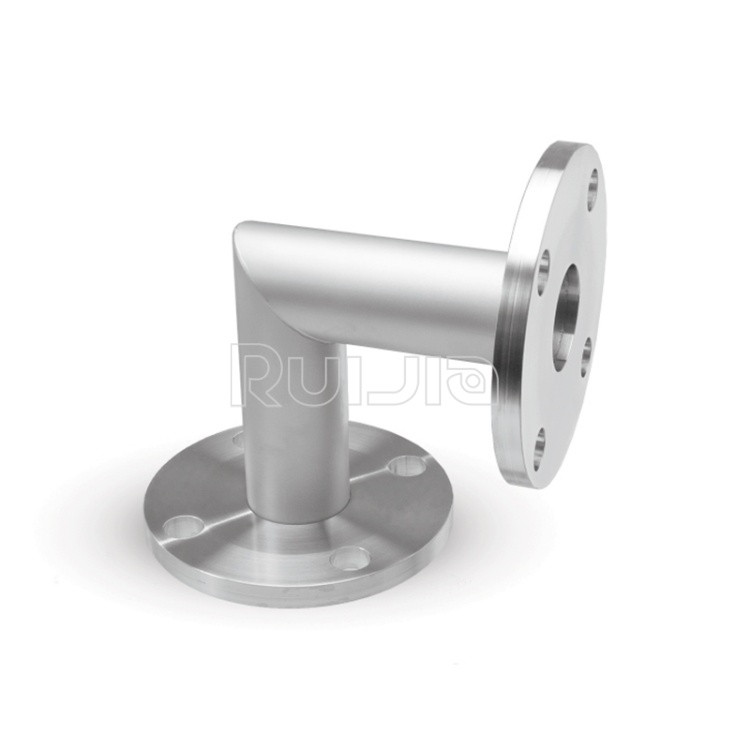
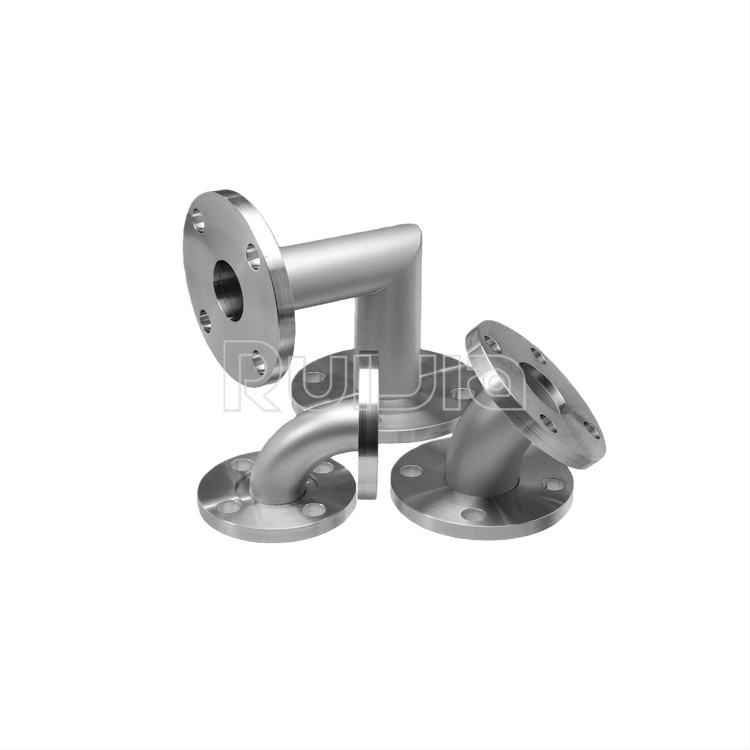
|
Temperature |
-26˚C to 200˚C |
|
Working Pressure |
Vacuum~atmosphere pressure |
|
Helium Leak Test |
1×10 -9 Pa・m³/sec or less |
|
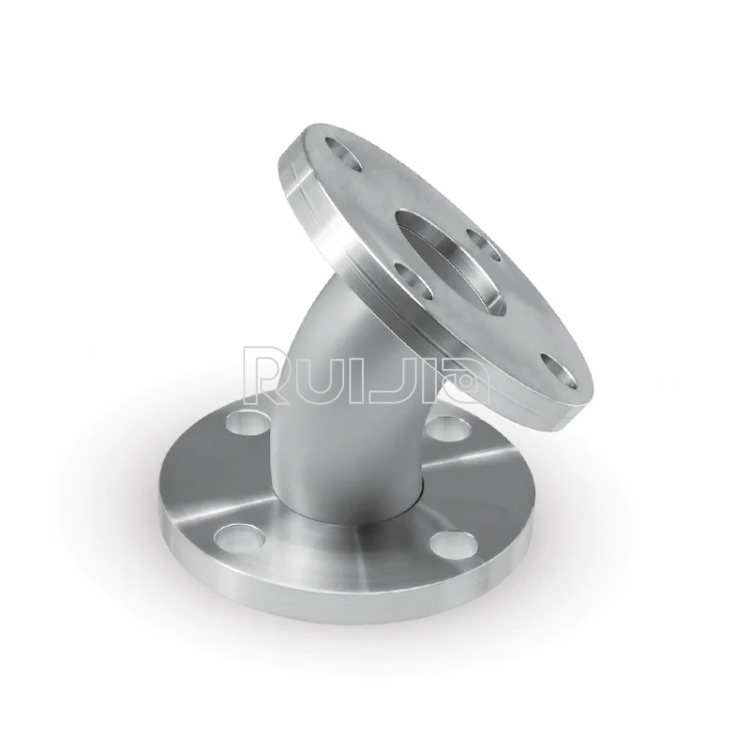
Temperature |
-26˚C to 200˚C |
|
Working Pressure |
Vacuum~atmosphere pressure |
|
Helium Leak Test |
1×10 -9 Pa・m³/sec or less |
|
Temperature |
-26˚C to 200˚C |
|
Working Pressure |
Vacuum~atmosphere pressure |
|
Helium Leak Test |
1×10 -9 Pa・m³/sec or less |
Rich stock, fast delivery
Quick response within 24h
Quality assurance
Accessory replacement
GET A QUOTE