Determining adequate tightening torque for ISO-KF clamp connections, with size-based reference ranges and practical “enough” criteria.


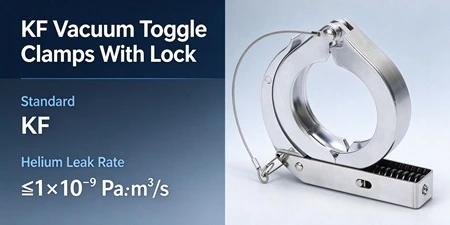
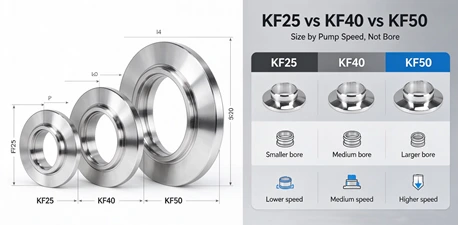
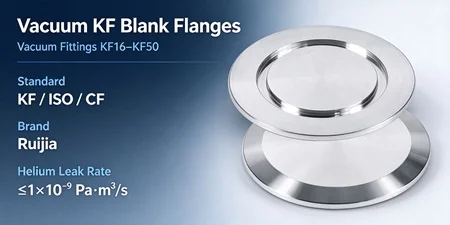
The most common cause of KF flange leaks is improper clamp tightening — either under-tightening that fails to compress the O-ring sufficiently, or uneven tightening that misaligns the centering ring. The solution is straightforward: tighten the wingnut firmly by hand until the clamp springs are fully compressed and the flanges are drawn together evenly, then verify that the centering ring remains centered with no visible gap between the flange faces.
This guide explains why KF clamps leak, how to tighten them correctly, and what to check after installation.
The KF (Klein Flansche) flange system is a quick-release vacuum connection standard widely used in medium and low vacuum applications. A typical KF assembly consists of three components:
Two identical KF flanges — one on each side of the connection
A centering ring — contains the O-ring seal and aligns the flanges
A KF clamp — applies the compressive force that creates the seal
The clamp wraps around the outside of the two flanges. When you tighten the wingnut, the clamp compresses the flanges together, which in turn compresses the O-ring inside the centering ring against the flange faces. The seal depends entirely on this compression being sufficient and even.
When a KF clamp is not tightened enough, the O-ring does not compress sufficiently against the flange faces. The result is a leak path that may be too small to hear but large enough to degrade vacuum performance.
Signs of under-tightening:
Vacuum level fails to reach expected range
Pump-down time is longer than usual
Helium leak detector shows elevated readings
The wingnut on a KF clamp applies force through a hinge mechanism. If the clamp is not positioned correctly before tightening, or if the wingnut is tightened at an angle, the force may not be distributed evenly around the flange circumference. This causes the centering ring to shift off-center, compromising the O-ring seal on one side.
Over time, the wingnut thread can wear, the clamp spring can lose tension, or the clamp body can deform. A clamp in poor condition cannot apply consistent force even when the wingnut feels tight.
Before connecting any KF joint, check:
| Component | What to Check |
| Flange faces | No scratches, dents, or debris |
| Centering ring O-ring | No cracks, hardening, or deformation |
| Clamp | Wingnut turns freely; spring is intact; no visible deformation |
KF flanges are available in sizes from KF10 to KF50 (and up to KF200 upon request). The tightening procedure is the same regardless of size, though larger flanges require more hand force.
Place the centering ring between the two flange faces. The O-ring should sit squarely in its groove, and the centering ring should align the two flanges so their bores are coaxial.

Open the KF clamp and place it around the two flanges. The clamp should sit evenly around the circumference — not tilted to one side. The hinge and wingnut should be positioned where they are easy to access but not interfering with other system components.
This is the critical step. Tighten the wingnut firmly by hand until it stops. You should feel increasing resistance as the clamp springs compress and the flanges are drawn together. Do not use tools such as pliers or wrenches on the wingnut — KF clamps are designed for hand-tightening only.
What “firmly by hand” means:
The wingnut should be tight enough that it requires deliberate effort to turn the last few threads
The clamp springs should be visibly compressed
The two flanges should be drawn together with no gap between their outer faces
After tightening, perform these checks:
Visual check — The clamp should sit evenly around both flanges. The wingnut should be fully seated.
Centering ring check — Look through the bore if possible. The centering ring should appear centered, not shifted to one side.
Leak check — If your system has a helium leak detector or vacuum gauge, verify that the joint holds vacuum.
| Indicator | Properly Tightened | Problem |
| Wingnut position | Fully seated; requires effort to turn further | Loose; turns easily |
| Clamp springs | Visibly compressed | Not compressed |
| Flange gap | No visible gap between flange outer faces | Gap visible |
| Centering ring | Centered in bore | Shifted to one side |
| Vacuum level | Meets expected range | Fails to reach or hold |
| Mistake | Why It Causes Leaks |
| Using tools to over-tighten | Can deform the clamp or flange, or damage the O-ring |
| Tightening with the clamp tilted | Applies uneven force; misaligns the centering ring |
| Reusing a damaged O-ring | Compromised elastomer cannot seal properly |
| Forgetting the centering ring | No seal at all — the joint will leak immediately |
| Mixing clamp sizes | A KF25 clamp will not properly seal a KF40 flange |
| Tightening before the flanges are fully seated | The O-ring may be pinched or misaligned |
If you have tightened the clamp correctly and the joint still leaks, work through this checklist:
Replace the O-ring — The most common cause of persistent leaks is a worn or damaged O-ring. Viton and silicone are common sealing materials; verify you are using the correct material for your application.
Inspect the flange faces — Scratches or debris on the flange sealing surface can create leak paths.
Check the clamp condition — If the wingnut threads are stripped or the clamp spring is weak, replace the clamp.
Verify flange compatibility — Ensure both flanges are the same KF size and standard.
Test with a helium leak detector — For critical applications, RUIJIA performs helium leak testing to ensure leak rates better than 10⁻⁸ Pa·m³/s for KF components.
Can I use a wrench to tighten a KF wingnut clamp?
No. KF clamps are designed for hand-tightening only. Using tools can over-tighten the clamp, potentially deforming the clamp body, damaging the flanges, or compressing the O-ring beyond its elastic limit. If you cannot achieve a seal by hand, the problem is likely with the O-ring, flange faces, or clamp condition — not with insufficient tightening force.
How tight should a KF clamp be?
Tighten the wingnut firmly by hand until it stops and the clamp springs are visibly compressed. There is no specific torque value for KF wingnut clamps because they are designed to be tightened by feel. The correct tightness is “as firm as you can comfortably tighten by hand.”
How often should I replace KF O-rings?
There is no fixed schedule; it depends on operating conditions. Under normal conditions (room temperature, non-corrosive, low cycle frequency), rubber seals should be replaced every 1–2 years. Under harsh conditions (corrosive, high temperature, high cycle frequency), inspect every 3–6 months and replace at the first sign of hardening, cracking, or deformation.
What size KF clamp do I need?
KF clamp size must match the flange size. Common KF flange sizes are KF10, KF16, KF25, KF40, and KF50. A KF25 clamp will not properly seal a KF40 flange — always verify size compatibility before assembly.
Why does my KF joint leak after thermal cycling?
Thermal cycling can cause the O-ring to lose elasticity or the flange materials to expand and contract at different rates. After significant temperature changes, it is good practice to re-tighten the KF clamp (by hand) and re-check the seal.
Can KF clamps be reused?
Yes, KF clamps can be reused many times as long as they remain in good condition. Inspect the wingnut threads, hinge, and clamp springs regularly. Replace the clamp if you notice stripped threads, a weak spring, or any deformation.
KF flange leaks are most often caused by improper clamp tightening — not by defective components. The solution is simple: tighten the wingnut firmly by hand until the clamp springs compress and the flanges are drawn together evenly, then verify the centering ring remains centered. Avoid using tools, check your O-rings regularly, and replace worn clamps when needed.
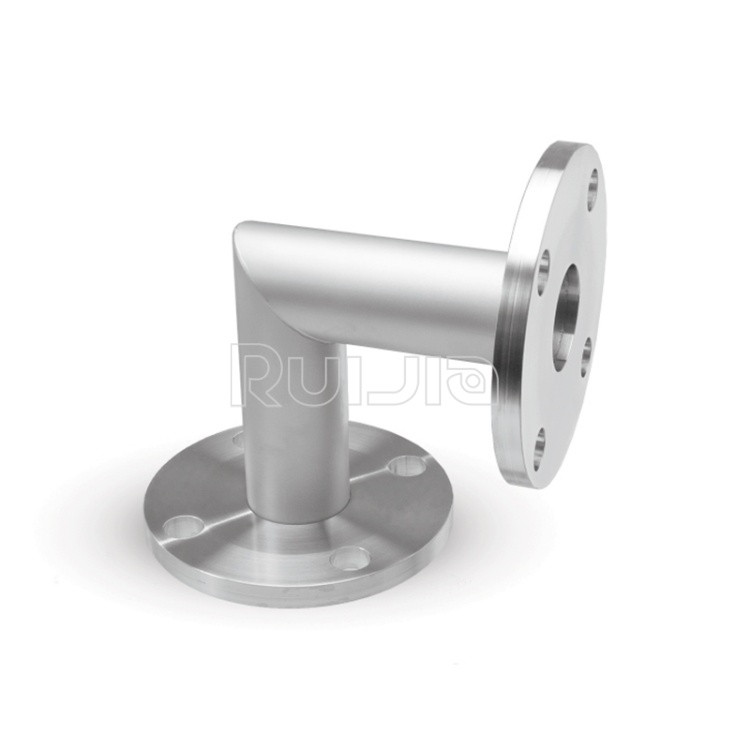
For more information on KF flange sizes, materials, and configurations, review the KF vacuum flanges product category. If you are experiencing persistent leaks and need technical assistance, RUIJIA offers engineering support and custom vacuum component solutions.
|
Temperature |
-26˚C to 200˚C |
|
Working Pressure |
Vacuum~atmosphere pressure |
|
Helium Leak Test |
1×10 -9 Pa・m³/sec or less |
|
Temperature |
-26˚C to 200˚C |
|
Working Pressure |
Vacuum~atmosphere pressure |
|
Helium Leak Test |
1×10 -9 Pa・m³/sec or less |
|
Temperature |
-26˚C to 200˚C |
|
Working Pressure |
Vacuum~atmosphere pressure |
|
Helium Leak Test |
1×10 -9 Pa・m³/sec or less |
Rich stock, fast delivery
Quick response within 24h
Quality assurance
Accessory replacement
GET A QUOTE