Determining adequate tightening torque for ISO-KF clamp connections, with size-based reference ranges and practical “enough” criteria.


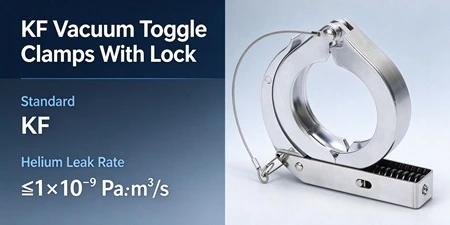
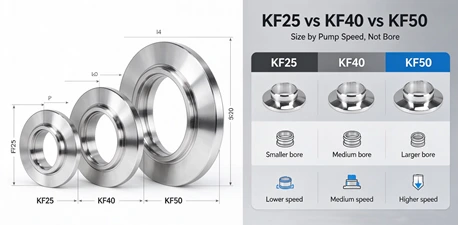
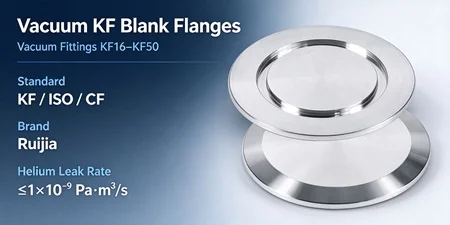
The short answer: over‑tightening a KF clamp does not create a better seal—it creates stress that can crack the flange, deform the O‑ring, and introduce leaks into your vacuum system. A KF connection should be tightened only until the clamp securely holds the two flanges together with the centering ring in position. Excessive force is not only unnecessary but can permanently damage components and compromise system integrity.
This article explains why over‑tightening happens, what damage it causes, how to identify correct tightness, and what steps you can take to protect your vacuum system.
A KF (Klein Flansche) clamp is a quick‑release fastening device used to connect two KF flanges in a vacuum system. The typical KF assembly consists of two identical flanges, a centering ring with an O‑ring, and an aluminum or stainless steel clamp with a wingnut fastener.
The clamp works by wrapping around the outer rims of the two flanges. When you tighten the wingnut, the clamp applies compressive force that pulls the flanges together. This compression squeezes the O‑ring inside the centering ring against the flange faces, creating a vacuum seal.
The key point: the seal is made by the O‑ring compression, not by how hard you tighten the clamp. Once the flanges are pulled together securely, additional tightening does not improve the seal—it only increases stress on the components.
Over‑tightening usually comes from a well‑intentioned but mistaken belief: “tighter means better sealing.” In reality, KF clamps are designed for hand‑tightening with minimal tools. Here are the most common reasons over‑tightening occurs:
| Reason | Explanation |
|---|---|
| Misunderstanding the sealing mechanism | Operators assume the clamp itself creates the seal, not the O‑ring |
| Compensating for worn O‑rings | Instead of replacing an aging O‑ring, operators tighten harder to force a seal |
| Using tools unnecessarily | Pliers or wrenches are used on the wingnut instead of hand force alone |
| Lack of training | New or untrained personnel are not taught the correct tightening method |
| Rushing installation | In a hurry, operators apply excessive force without checking |

Over‑tightening a KF clamp can cause several types of damage, ranging from immediate seal failure to long‑term component degradation.
KF flanges—particularly those made of aluminum or thinner stainless steel—are not designed to withstand high clamping forces. When a clamp is over‑tightened, the flange rim can develop stress fractures or full cracks. These cracks may not be visible to the naked eye at first, but they create leak paths that compromise vacuum integrity.
The O‑ring inside the centering ring is designed to be compressed within a specific range. Over‑tightening can squeeze the O‑ring beyond its elastic limit, causing it to deform permanently or extrude out of the centering ring groove. Once deformed, the O‑ring cannot return to its original shape and will no longer seal properly.
Excessive clamping force can cause the flange faces to become misaligned or even dented. This is especially problematic because the flange faces must be smooth and flat to create a uniform seal against the O‑ring.
The centering ring positions the O‑ring between the two flanges. Over‑tightening can distort the centering ring, affecting its ability to keep the O‑ring centered. An off‑center O‑ring leads to uneven compression and leaks.
The clamp itself can also suffer. Over‑tightening stresses the clamp material, potentially causing it to stretch, deform, or even break over time. A weakened clamp may not hold the flanges securely even when properly tightened later.
Since RUIJIA does not publish specific torque values for KF clamps, tightness should be determined by feel and visual inspection. Here is a practical checklist:
Cracks or stress marks on the flange rim
Deformed or extruded O‑ring visible outside the flange
Flanges that are difficult to separate after loosening the clamp
Visible indentation or scoring on the flange faces
| Mistake | Why It's a Problem |
|---|---|
| Using tools to tighten the wingnut | Applies far more force than the clamp or flanges are designed for |
| Tightening one side more than the other | Creates uneven compression and misalignment |
| Reusing damaged O‑rings | Forces operators to over‑tighten to compensate |
| Ignoring visible cracks | Small cracks grow over time and cause leaks |
| Not checking centering ring position | Off‑center O‑ring causes uneven sealing |

Prevention is straightforward and costs nothing:
Train all personnel on the correct KF assembly method. Emphasize that hand‑tight is sufficient.
Replace O‑rings regularly instead of tightening harder to compensate for wear.
Inspect flanges and clamps before each assembly. Look for cracks, deformation, or wear.
Use only compatible components — mixing KF sizes or using incorrect centering rings forces improper assembly.
When in doubt, back it off — if you suspect over‑tightening, loosen the clamp and re‑tighten correctly.
If you think a KF connection has been over‑tightened:
Loosen the clamp completely and remove it.
Inspect the flanges for cracks, especially around the rim. Use magnification if needed.
Check the O‑ring — if it is deformed, extruded, or shows signs of compression set, replace it.
Examine the centering ring for distortion or damage.
Inspect the clamp — look for stretching, deformation, or cracks.
Replace any damaged components before reassembling. Do not attempt to reuse cracked flanges or deformed O‑rings.
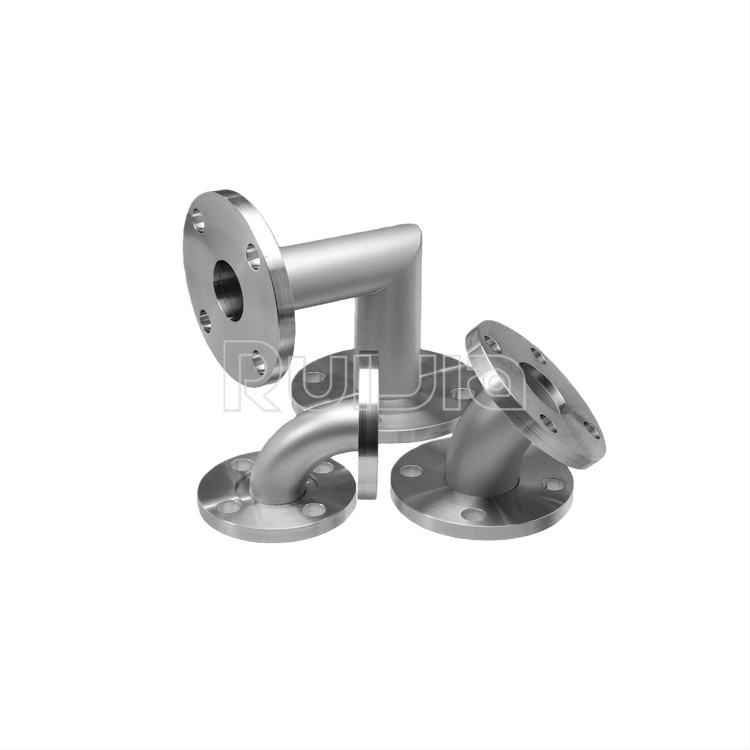
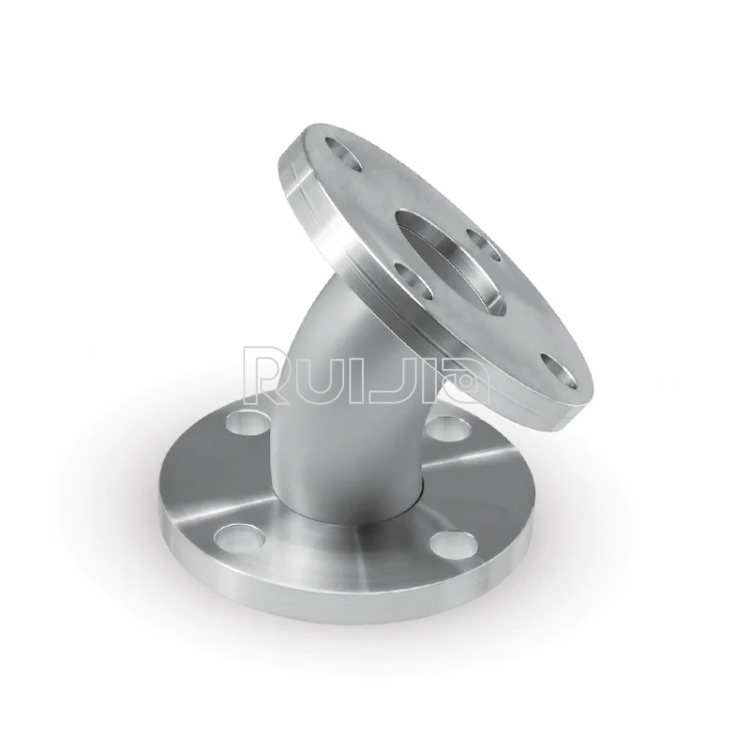
For a full range of replacement KF components, including flanges, clamps, and centering rings, review the available KF flange and fitting configurations.
How tight should a KF clamp be?
A KF clamp should be tightened by hand only—using the wingnut with your fingers until snug. No tools are required or recommended. The clamp should hold the flanges securely together without forcing them.
Can over‑tightening a KF clamp cause a vacuum leak?
Yes. Over‑tightening can crack flanges, deform O‑rings, and distort centering rings—all of which create leak paths. Ironically, trying to prevent a leak by tightening harder often causes the very leak you were trying to avoid.
What are the signs of an over‑tightened KF clamp?
Signs include: cracks or stress marks on the flange rim, a deformed or extruded O‑ring, flanges that are difficult to separate, and visible indentation on the flange faces.
Can a cracked KF flange be repaired?
In most cases, no. Cracked flanges should be replaced. Attempting to repair a cracked flange is not recommended for vacuum applications because the repair may not be vacuum‑tight and could fail under thermal or mechanical stress.
Do I need a torque wrench for KF clamps?
No. KF clamps are designed for hand‑tightening. RUIJIA does not publish torque specifications for KF clamps, and using a torque wrench is generally unnecessary and may encourage over‑tightening if set incorrectly.
How often should KF O‑rings be replaced?
There is no fixed schedule; it depends on operating conditions. Under normal conditions (room temperature, non‑corrosive, low frequency of operation), rubber O‑rings should be inspected regularly and replaced when signs of aging (hardening, cracks) appear. If you find yourself tightening the clamp more than usual to maintain a seal, the O‑ring likely needs replacement.
The integrity of a KF vacuum connection depends on proper assembly technique—not on maximum force. Over‑tightening KF clamps is a common but preventable mistake that can crack flanges, deform O‑rings, and introduce leaks into your vacuum system.
Key takeaways:
Tighten KF clamps by hand only — no tools required
The O‑ring creates the seal, not the clamp force
Inspect flanges, O‑rings, and clamps regularly for signs of damage
Replace worn components instead of over‑tightening to compensate
When in doubt, consult the KF flanges and fittings product page for component specifications and configurations
A correctly assembled KF connection should be secure but not forced. If you are unsure about your assembly technique, review the component specifications or discuss your application requirements with your supplier.
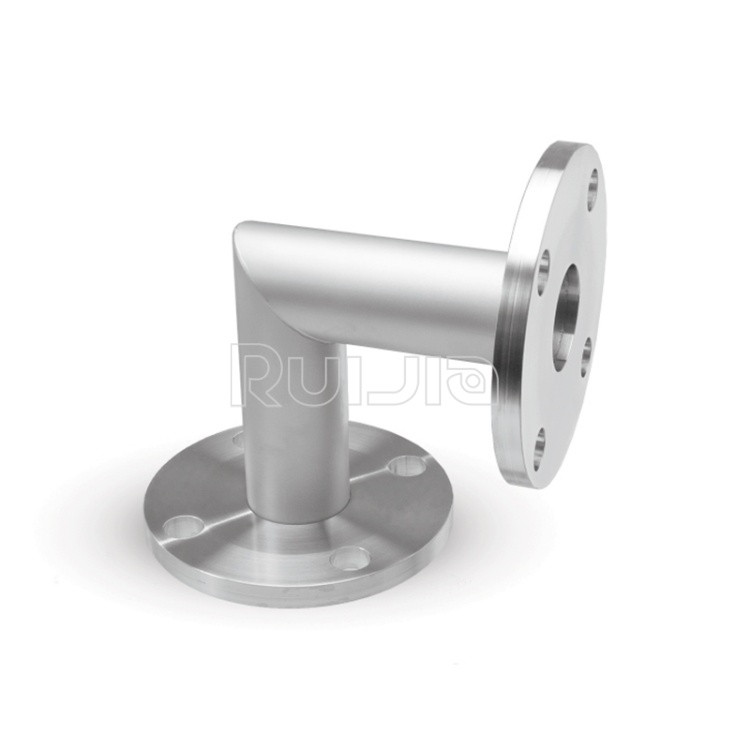
|
Temperature |
-26˚C to 200˚C |
|
Working Pressure |
Vacuum~atmosphere pressure |
|
Helium Leak Test |
1×10 -9 Pa・m³/sec or less |
|
Temperature |
-26˚C to 200˚C |
|
Working Pressure |
Vacuum~atmosphere pressure |
|
Helium Leak Test |
1×10 -9 Pa・m³/sec or less |
|
Temperature |
-26˚C to 200˚C |
|
Working Pressure |
Vacuum~atmosphere pressure |
|
Helium Leak Test |
1×10 -9 Pa・m³/sec or less |

Rich stock, fast delivery
Quick response within 24h
Quality assurance
Accessory replacement
GET A QUOTE